How to Install Java in Windows ?


In this article we will show you how you can install Java in windows. We will also download and setup Eclipse IDE for Java programming.
Downloading Java
First download JDK (Java Development Kit) from here
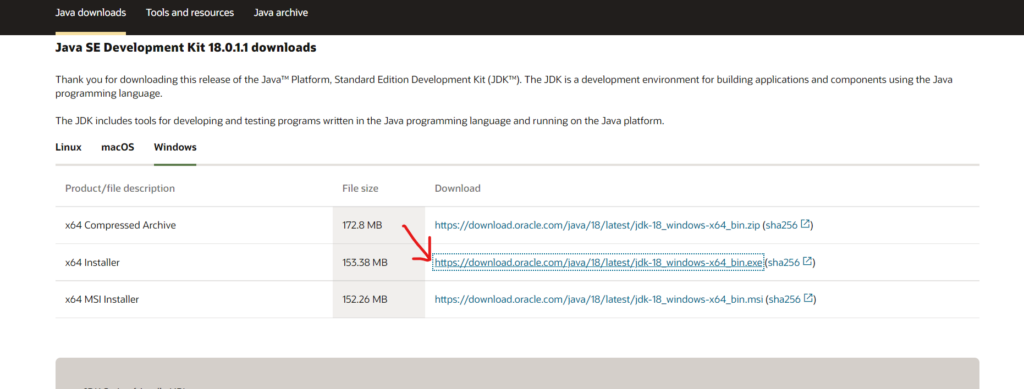
Download the x64 installer as shown in the above image. Once the download is completed , we can move on to the installation.
Installing Java
To begin the installation process, open the file you downloaded in the first step.
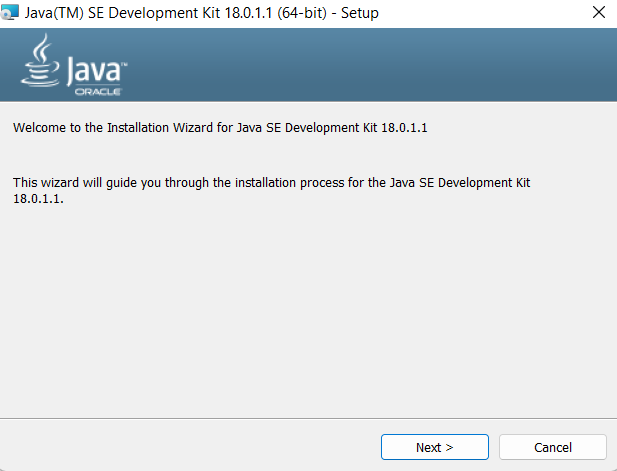
Just click on next. If you want to change the default installation directory, you can do so. Click on next and the installation will start.
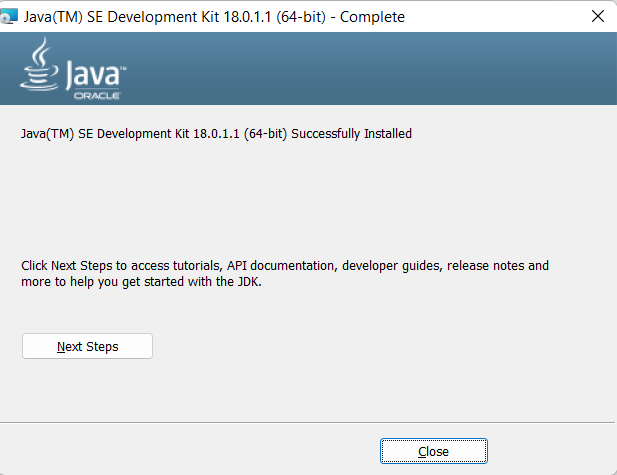
Once java is installed you can close the installer.
Now to verify that Java is installed properly , open cmd and type java –version and press enter.

Now if you see something similar that means Java is properly installed on your computer.
Downloading and Installing Eclipse IDE
Now you can start writing and running java programs. You can write java programs with any text editor, even the notepad. But then you will have to compile and execute the code separately each time, to make your life easier you can use an IDE(Integrated Development Environment) to write code. An IDE will allow you to execute your code more easily and will also help you to find and fix if any errors occur in your code. There are a lot of IDEs available for Java and you can use any one of them. But today I am going to show you how to use Eclipse IDE for writing Java programs. Eclipse is one of the most popular IDEs available for Java.
First download eclipse from the eclipse downloads page.

Once it is downloaded , open the downloaded file.
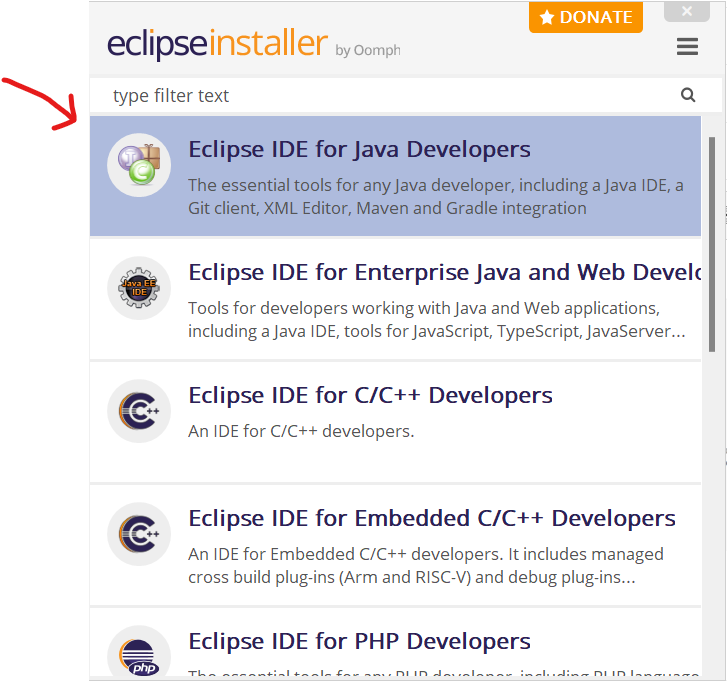
Choose Eclipse IDE for Java Developers.
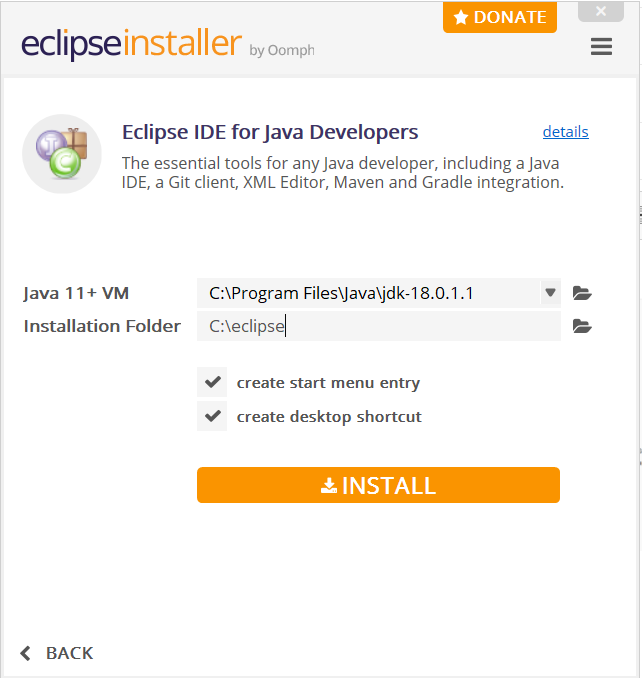
Click on Install to begin the installation.
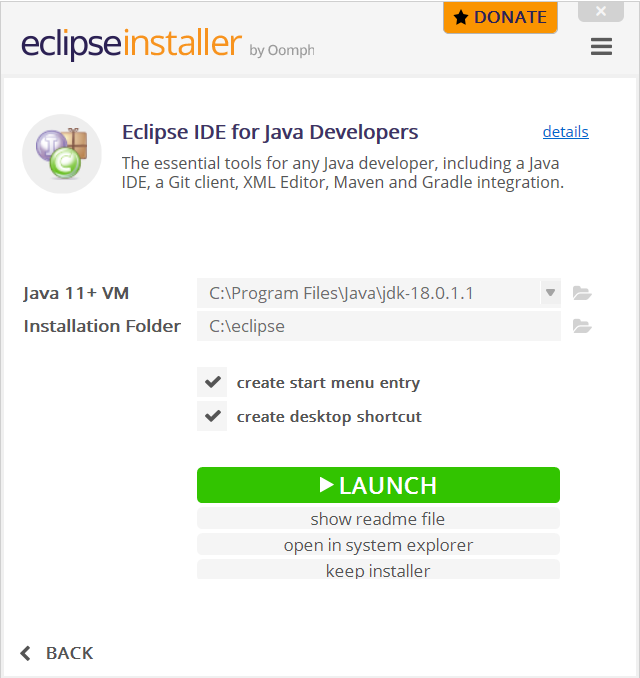
Once Eclipse is installed, click on launch.
It will ask you to select a directory to use as workspace. If you want you can change it or else you can just leave it at default.
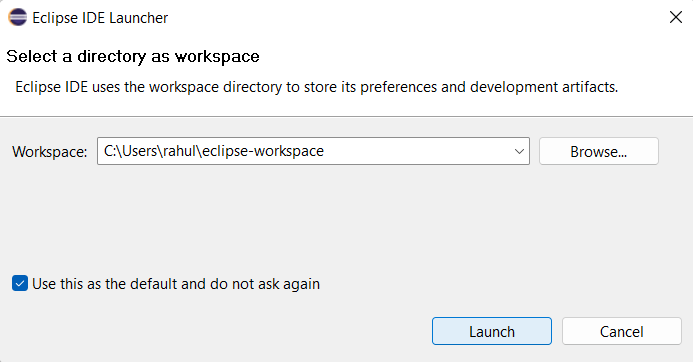
Click on launch.
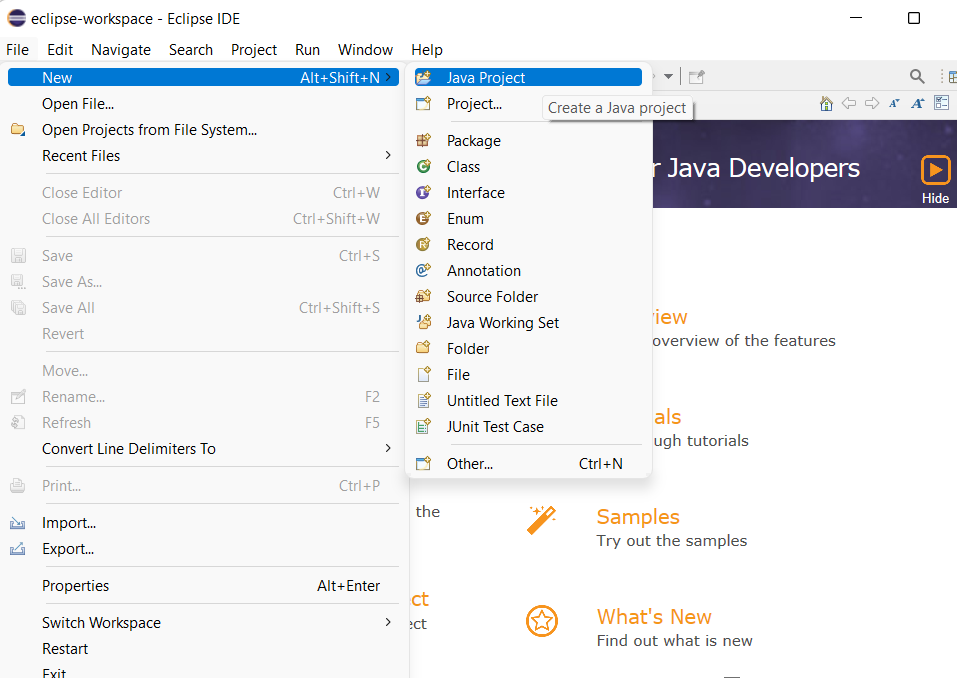
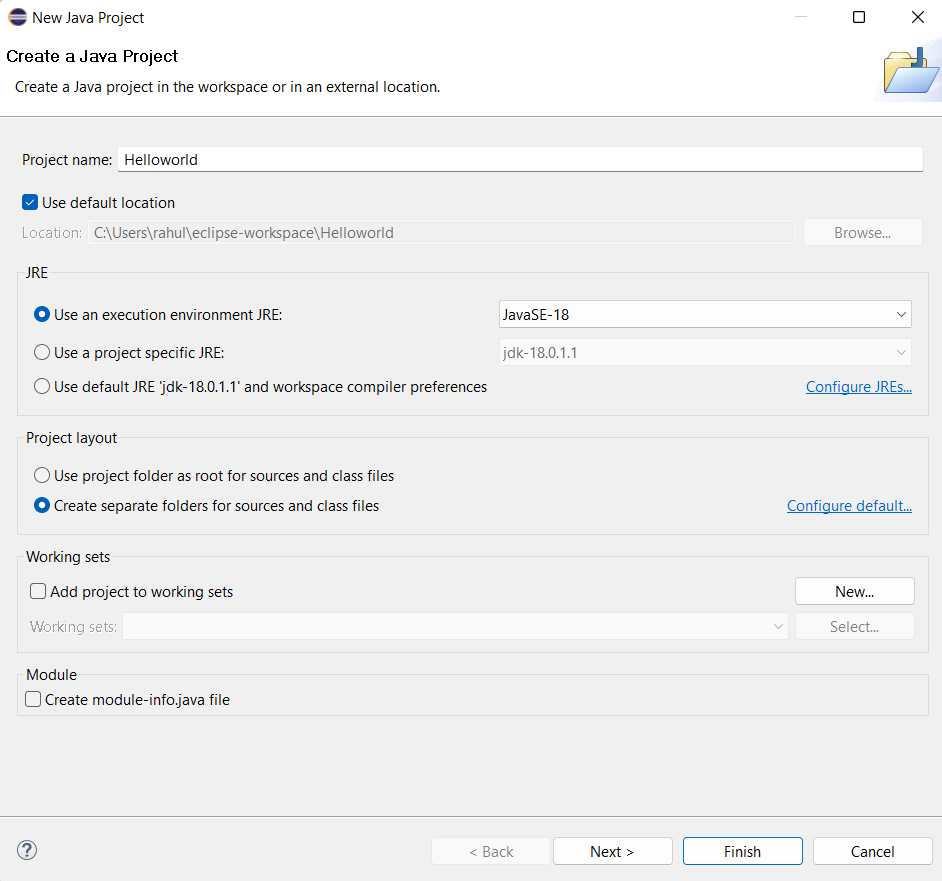
Once eclipse is launched, go to File -> New -> Java Project to create a new project.
Give a project name , uncheck Create module-info.java file and click on Finish.
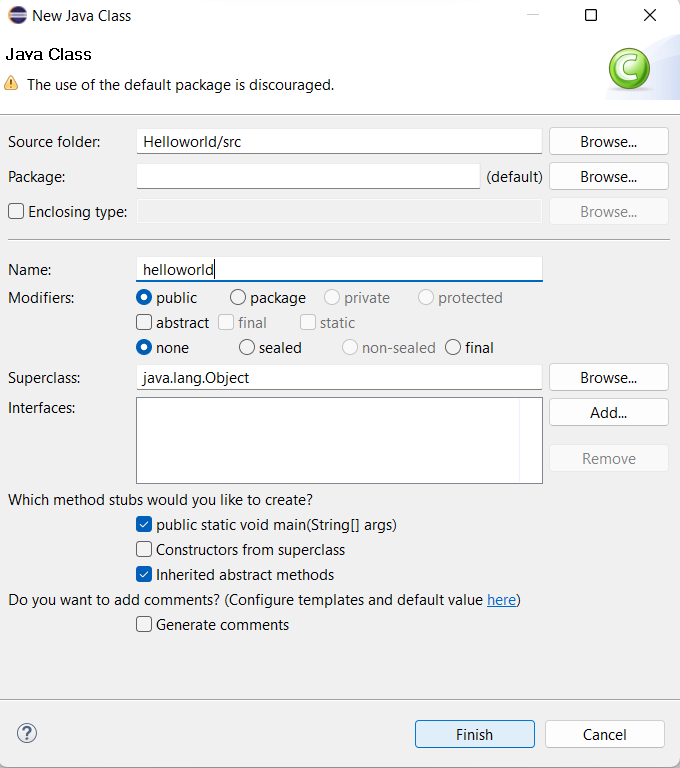
After that go to File -> New -> Class

Give a name for your Java class and click finish.
Now lets write a simple code to print Helloworld to test our installation and setup.
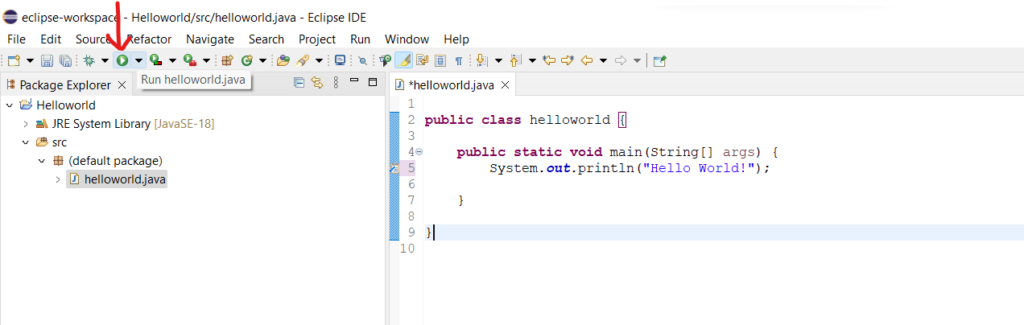
Write the code and click on the run button to run your code.
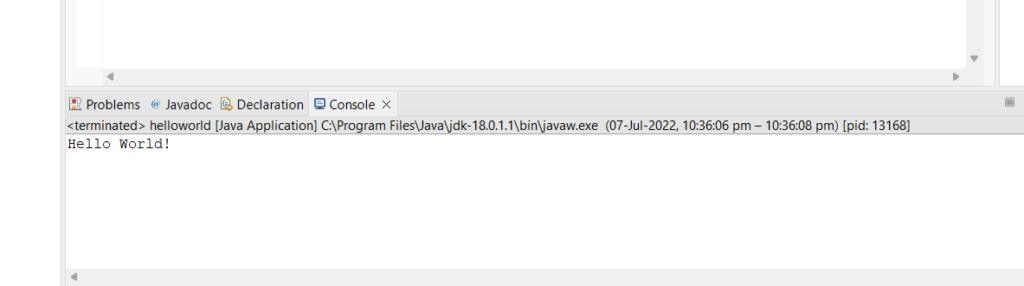
We have successfully installed Java and eclipse in windows. Now you can use eclipse to write and run your Java programs.