How to host your flask app for free ?


We have heard a lot about free webhosting. But most of them are extremely slow and won’t even support python in the first place. Then usually your best bet is to use some free trial of some cloud services if you want to host your flask app for free. But then they are far from ideal as they usually come with a lot of limitations and you will have to pay or either take down your site once the free trial period is over.
The service that today I am going to talk about is called Vercel. Vercel allows us to host serverless functions on their service. We can make use of this to host our flask app or website. They also offer a generous free plan where you can use your custom domain, get free ssl and 100 GB of bandwidth.
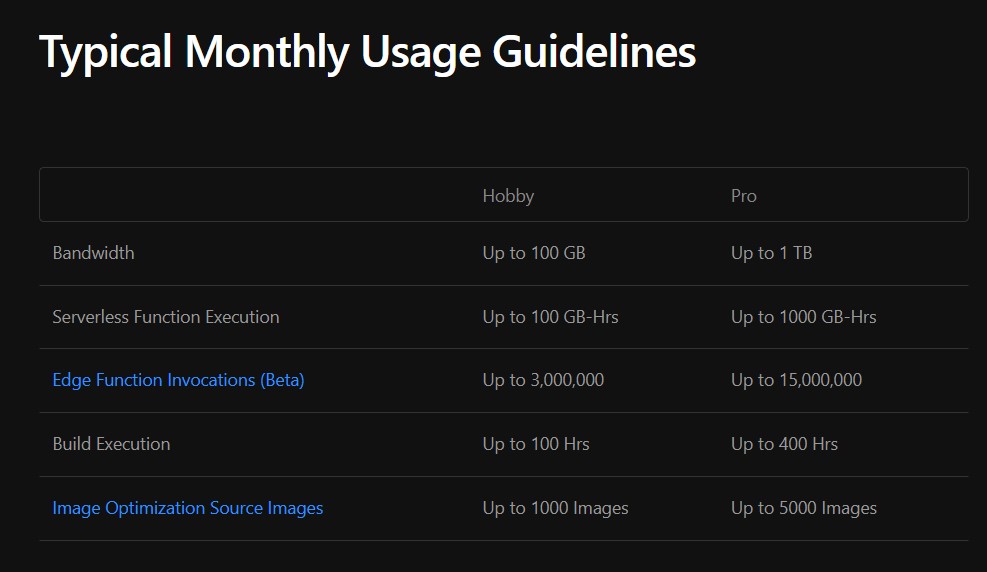
You can see that their hobby plan which is their free plan offers enough resources for most websites.
Now to get started go to Vercel and sign up for an account. After that we will be using git to depoly our app/site on vercel. In this tutorial we will be uploading our website files to a github repositoy and then deploying it on vercel. So whenever you make a new commit , Vercel will automatically redeploy your website with the latest changes.
Now let’s create a basic flask app.
Create a python file. I am going to name mine index.py
    from flask import Flask

    app = Flask(__name__)

    @app.route('/')
    def hello_world():
        return 'Hello World!'

    if __name__ == '__main__':
        app.run()
You can trying running this on your local machine and it will work. If you haven’t installed flask already, you will have to install it by running pip install flask on your command prompt.
Now for deploying it to Vercel, you don’t need those last two lines. For deploying to Vercel we will use the following code:
    from flask import Flask

    app = Flask(__name__)

    @app.route('/')
    def hello_world():
        return 'Hello World!'
Now you need to create a requirements.txt file in your project directory to tell Vercel what modules need to be installed. You need to mention all modules that you will be importing in your app here. We can use the following requirements.txt for the above code.
Flask==2.0.3
Now you also need to create a vercel.json . You can use the following vercel.json for all your flask apps. Just replace the “index.py” with the file name you used for your python app.
    {
        "version": 2,
        "builds": [
            {
                "**src**": "./index.py",
                "use": "@vercel/python"
            }
        ],
        "routes": [
            {
                "**src**": "/(.*)",
                "dest": "/"
            }
        ]
    }
Now you are ready to deploy this. There is another way of doing this with the vercel cli. But I haven’t done that way before. So I am just going to show you guys the way I usually do this.
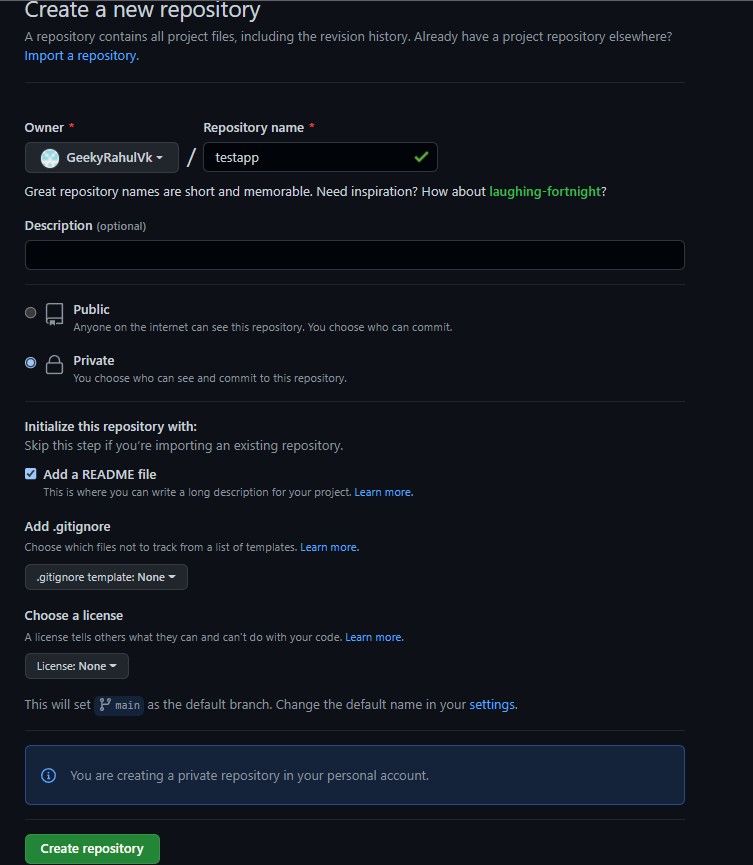
First we need to create a Github repository for our project. Create a Github account if you don’t have one already. Now create a new github repository. You can set it to private. I am just naming mine testapp.
Now clone that Github repository to your pc. If you don’t have any prior experience using Git, you can use the Github desktop app. But I highly recommend that you learn git as soon as possible. It is a very necessary and important basic skill that you need to have. Just copy all your project files : index.py, requirements.txt and vercel.json to your repository folder. Commit it and push it to origin.
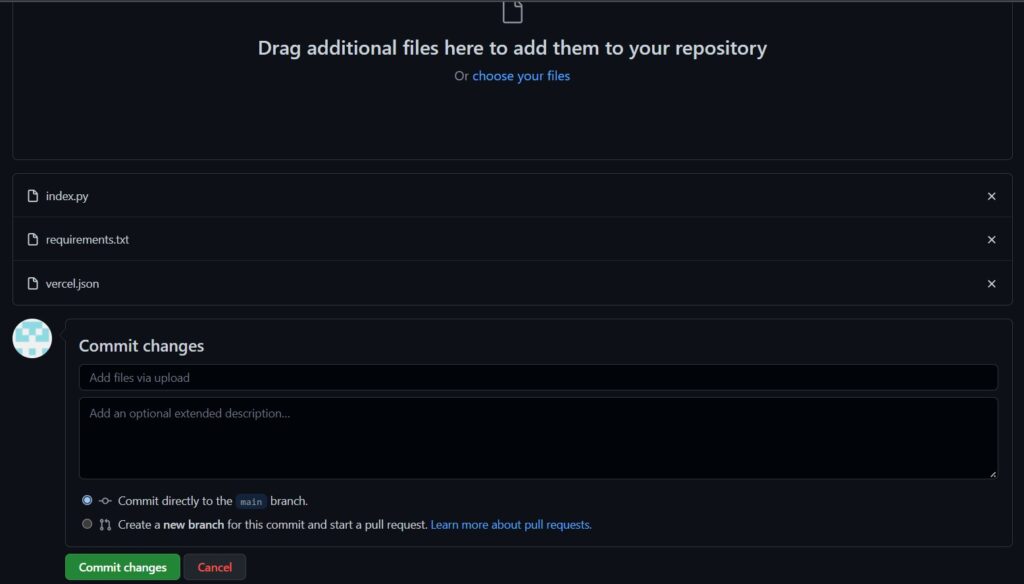
Or for now you can just upload these project files directly to your Github repository. This is the screen you will get after you create your Github repository.
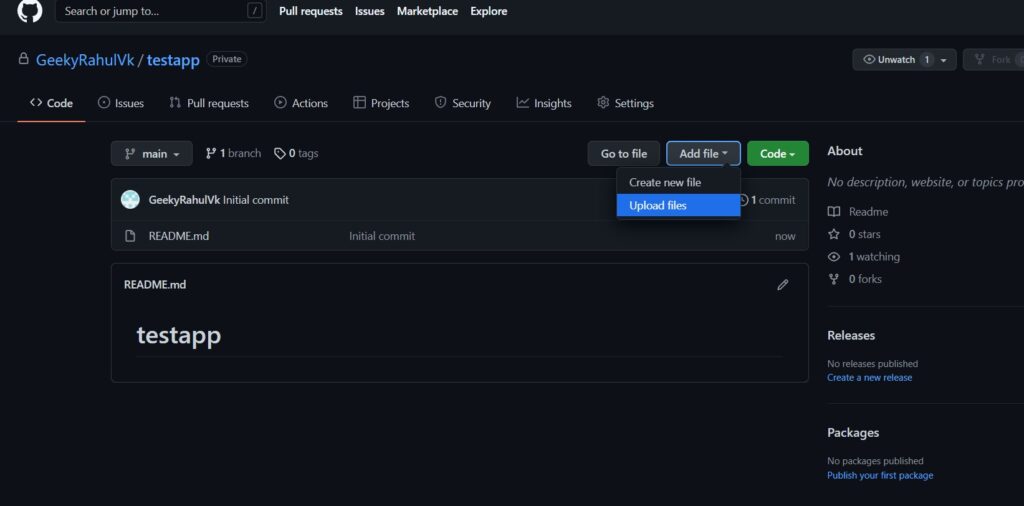
From there choose upload files and upload your three project files and click on commit.
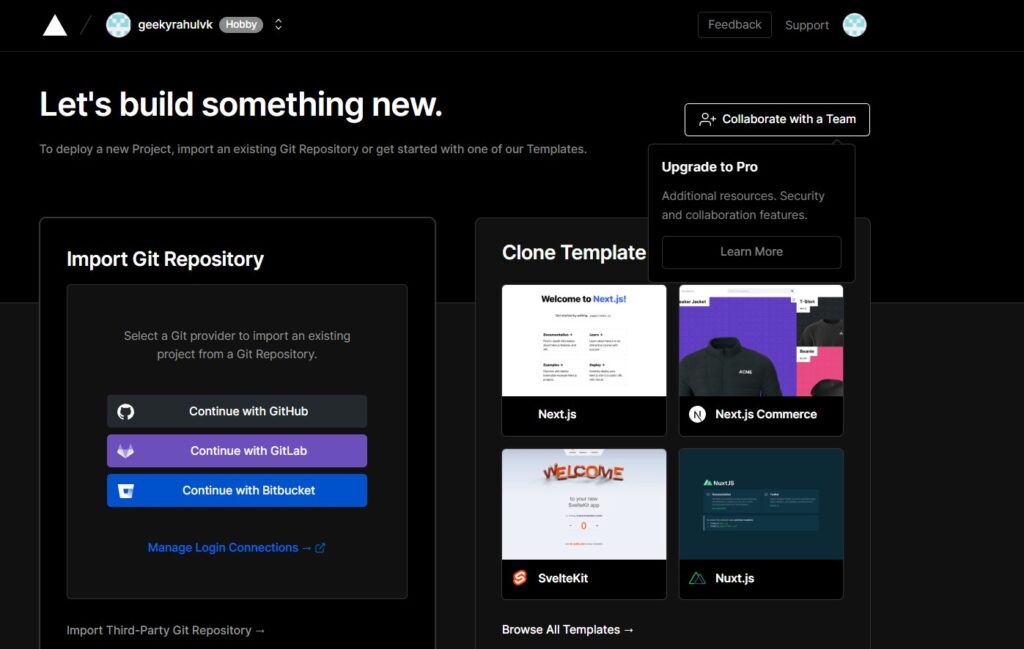
Now let’s go to Vercel and deploy this. On your vercel dashboard, select new project.

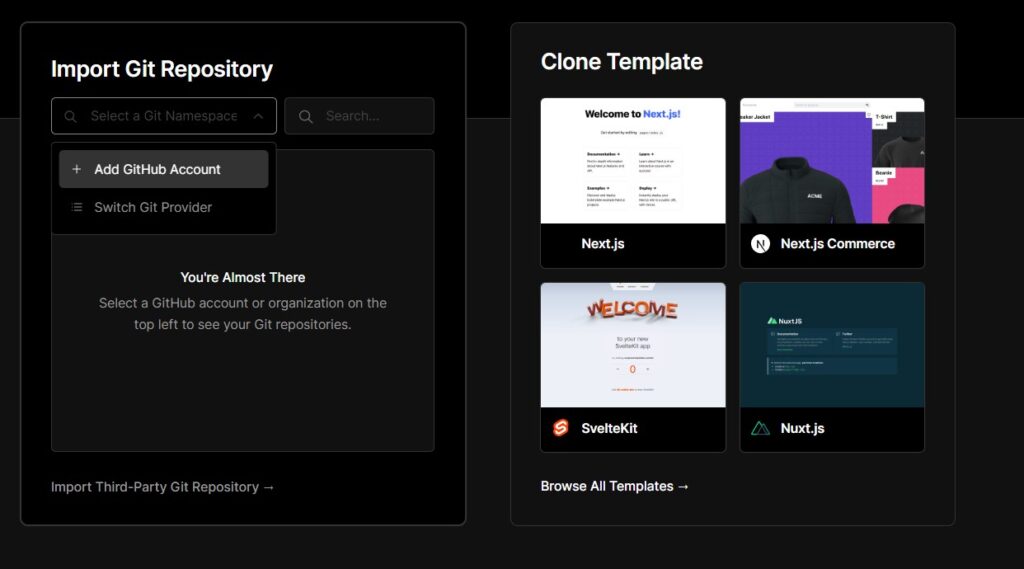
Here you should see this screen. Select continue with Github. If you don’t see this screen , select switch github provider from that drop down list under import git repository.
Now select add github account.
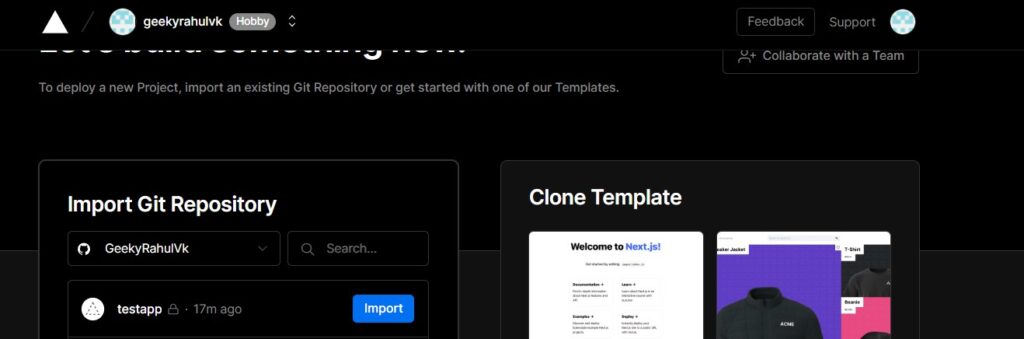
Now you will see a prompt to install vercel to your github account. Click on the install button. Now you should see all your github repositories in Vercel. Select the repository that we just created.
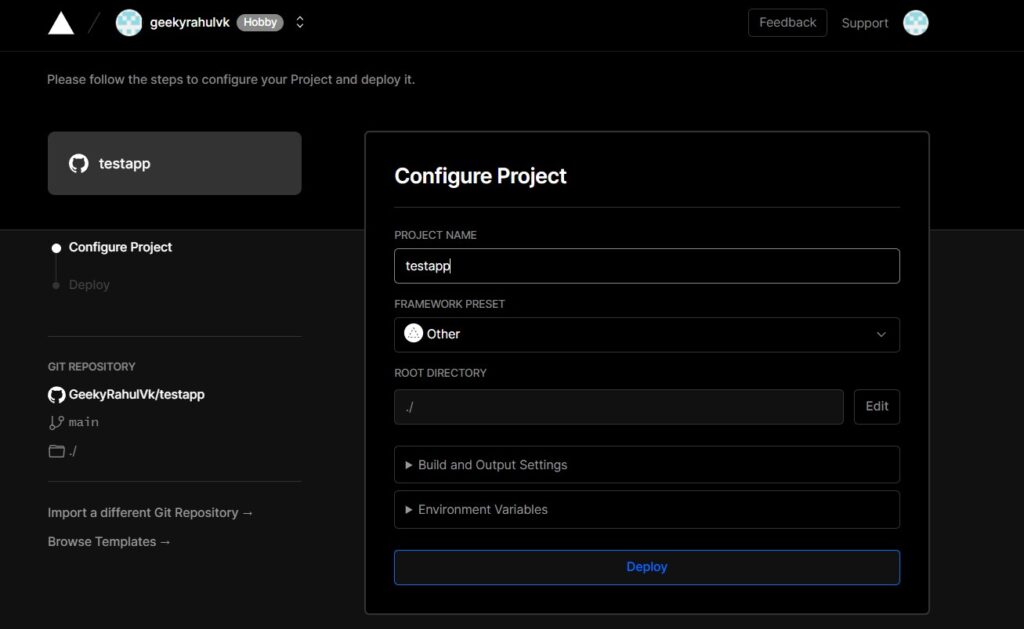
Now you will see a screen like this . Click on deploy.
After it finishes deploying , click on go to dashboard and you will see your deployed project there.
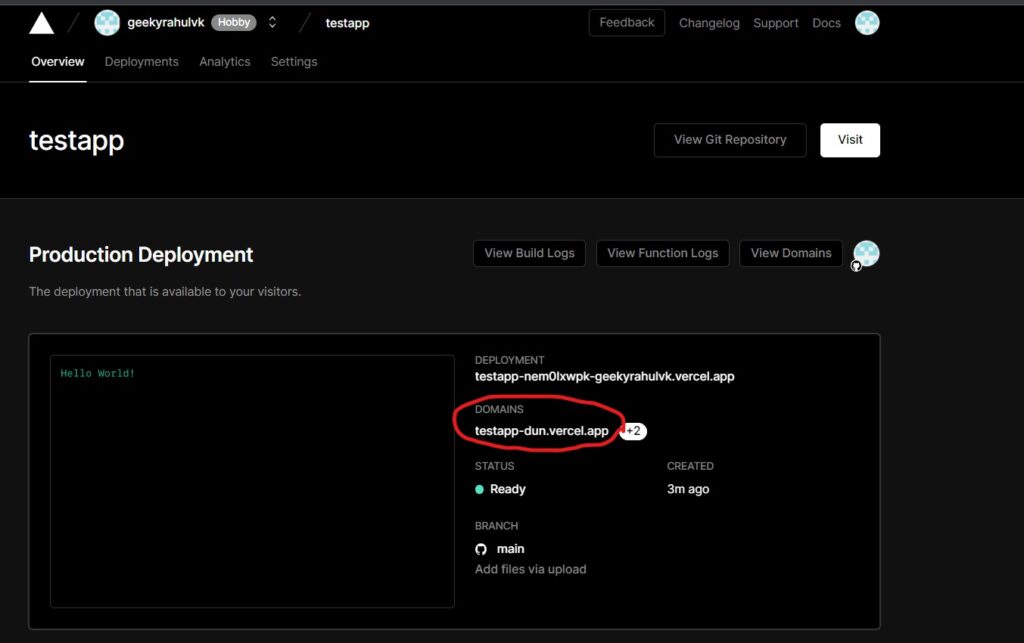
Go to the above url and you should see your app.
We have successfully deployed a python flask application for free using Vercel. Now let’s add a basic html template to our website. For that create a new folder called templates on the root of your project directory. Inside that create any html file. I am going to call mine hello.html. You can add your own html code inside.
I am just going to create a very basic html file.
    <!DOCTYPE html>
    <html lang="en">
    <head>
        <meta charset="UTF-8">
        <title>Hello World !</title>
    </head>
    <body>
    <h3>Sample HTML</h3>
    </body>
    </html>
Now back to our main python file, to show this html page that we created , modify the code to this.
    from flask import Flask, render_template
    app = Flask(__name__)

    @app.route('/')
    def hello_world():
        return render_template('hello.html')
Now upload our updated project files to our Github repository. Once you do that, Vercel should automatically start building and deploying the changes we have made to our site. If you go to your project dashboard in Vercel, you should see that Vercel is building our project.
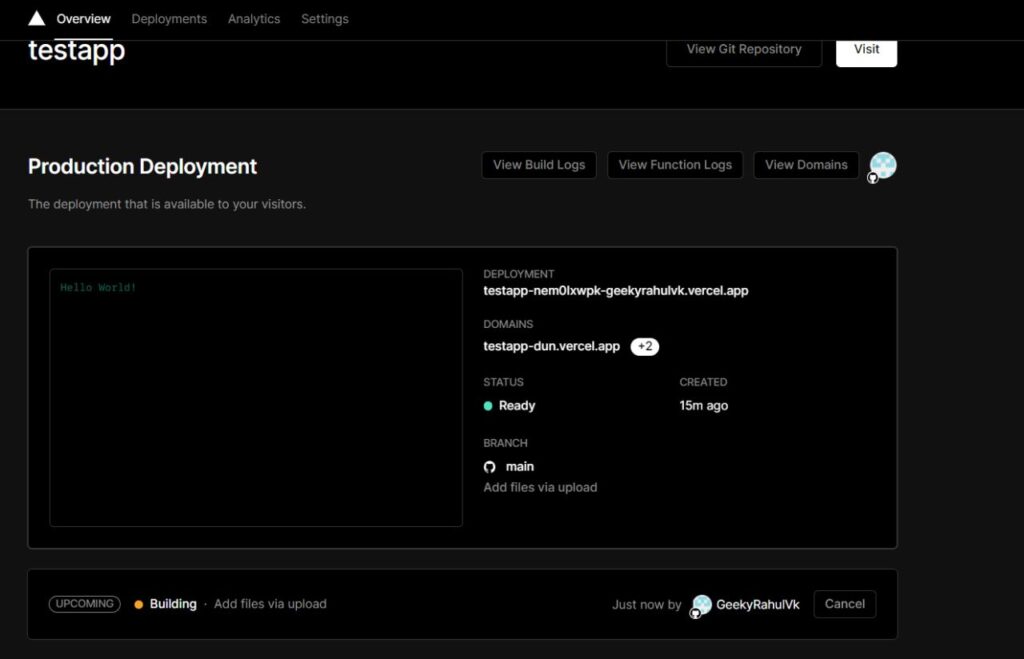
Now if you vist the same url, you should see the changes we made.

That’s it!
Now if you want to add static files like css, js and images, just create a folder named static on the root of your project directory and store it there.
You can add database connectivity and other features to your website. Just don’t forget to add the new modules to your requirements.txt file.
You can connect a custom domain that you own to your site for free. Just go to the view domains tab of your deployment and add your domain there.
I am soon going to start a flask tutorial series on this blog where we will create a full fledged website with cms on flask and mongodb. I will also show you how you can make use of Vercel and Mongodb Atlas to host it for free.