How to Install Apache on Docker ?

First you need to install docker if you haven’t already installed.
Installing Docker
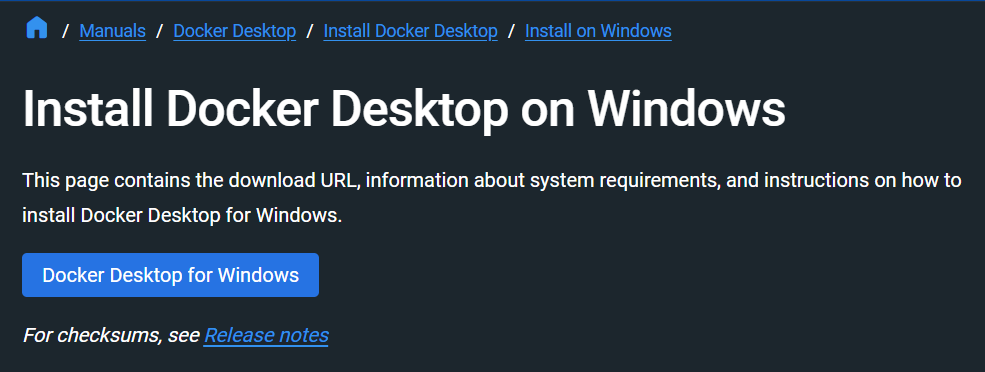
For windows users, you can download docker and install docker desktop from here.

# Add Docker's official GPG key:
sudo apt-get update
sudo apt-get install ca-certificates curl gnupg
sudo install -m 0755 -d /etc/apt/keyrings
curl -fsSL https://download.docker.com/linux/ubuntu/gpg | sudo gpg --dearmor -o /etc/apt/keyrings/docker.gpg
sudo chmod a+r /etc/apt/keyrings/docker.gpg

# Add the repository to Apt sources:
echo \
  "deb [arch=" $(dpkg --print-architecture)"" signed-by=/etc/apt/keyrings/docker.gpg] https://download.docker.com/linux/ubuntu \
  "$(. /etc/os-release && echo "$VERSION_CODENAME")" stable" |
  sudo tee /etc/apt/sources.list.d/docker.list > /dev/null
sudo apt-get update
For Ubuntu users, you can run the following commands on your terminal to install docker.
sudo apt-get install docker-ce docker-ce-cli containerd.io docker-buildx-plugin docker-compose-plugin
You can test your installation by running the following command.
Now that docker is successfully installed, we can deploy apache in a docker container.
Installing Apache in a Docker Container
To do this, we will be using the official docker image of apache called httpd.
Create a directory for storing apache contents and inside that directory create a docker-compose.yml file with the following contents.
version: '3'
services:
  apache:
    image: httpd:latest
    container_name: apache
    ports:
      - "8000:80"
    volumes:
      - ./wwwdata:/usr/local/apache2/htdocs
    restart: always
Explaination
We are specifying the following things :
- Image to use is the latest httpd docker image.
- Container name to be set is apache.
- Port to expose is 8000 on your host machine.
- What it means is that docker will map the port 8000 on your host machine to the port 80 of apache.
- It basically means you will be able to access the webserver at http://youripaddress:8000
- If you want to use the http port 80 on your local machine, you can change the ports defined in docker compose file to “80:80”. In this case, the webserver will be accessible at at http://youripaddress
- Next you are defining a docker volume. Docker containers by default doesn’t have persistent storage, so if you need to preserve the data incase the container is restarted or shutdown, you need to mount a volume. Here we are mounting the directory wwwdata to apache container’s webserver root.
Deployment
Now to build and start our apache container, open terminal in the directory you created the docker-compose.yml file and run the following command.
If you are using ubuntu or similar linux operating system, you might need to run this instead.
sudo docker compose up -d
Now you can see that a folder wwwdata has been created inside the folder where you saved the docker compose file. Now any file which you store in the wwwdata directory will be served by apache.
To test it create a index.html file inside the wwwdata directory.
<!DOCTYPE html>
<html lang="en">
<head>
    <meta charset="UTF-8">
    <meta name="viewport" content="width=device-width, initial-scale=1.0">
    <title>Document</title>
</head>
<body>
    <p>Hello World!</p>
</body>
</html>
Now save the index.html file and visit your ipaddress:[port you exposed in docker compose file] to see the html file rendered on the browser.
In my case since I exposed port 8000 in my docker compose file, I can access the webpage at http://ipaddress:8000.
